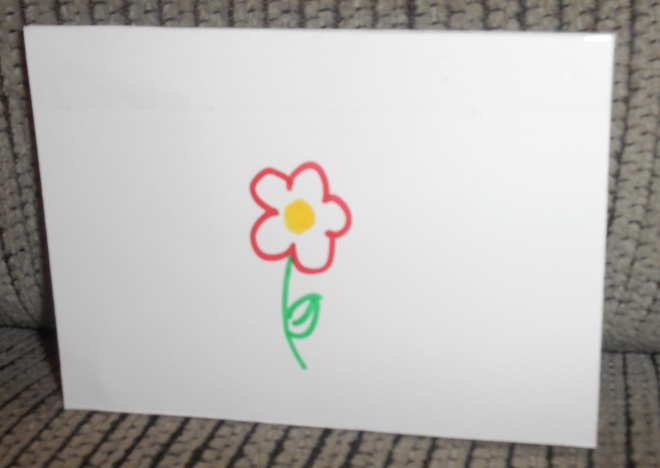
DIY Just Because card: Hello with Heart-Petaled Flower

JB hello flower 3

Materials: 

  • Recollections kraft card and envelope (value pack) [Michaels]
  • Recollections Basic Bold 12″ x 12″ paper pad [Michaels]
  • Recollections 1 7/16″ heart punch (blue one) [Michaels]
  • yellow printer paper
  • green Sharpie
  • MS Word WordArt, printer, green ink
  • glue stick
  • pencil

OrganizationLove Pro Tips:

  • I glued down all of the hearts first, before gluing on the yellow circle
  • I chose purple patterns, but the paper pad has all kinds of colors – you could also choose black and white, rainbow, or any other color scheme
  • I draw on the stem, but I do it in pencil first and then trace over with green Sharpie

Caption Ideas:

  • Because there are already words on the front of the card, outer captions are not necessary
  • Inside notes:
    • Just saying hi
    • Have a great day
    • Love you

Inspiration

  • This card was inspired by one I found on pinterest, the blog post is here:

http://kath-allthatglitter.blogspot.com/2011/05/fruit-scoop.html

Inspired? 

  • If my post inspires you, and you blog about it, I ask that you credit me! Also, I’d love to see it!

Want it?

  • This card is available for purchase on my etsy store:

https://www.etsy.com/listing/255012736/hello-flower-card

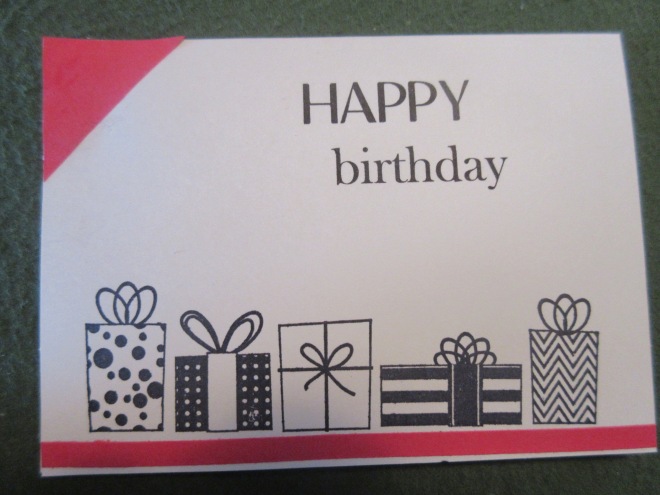
DIY Happy Birthday card

happy birthday presents red 1

Materials: 

  • The Paper Studio value pack ivory notecard/envelope 4″x5.5″ [Michaels]
  • Red printer paper
  • Janet Dunn Design present stamp
  • Ranger Archival Ink in “Jet Black”
  • Elmer’s Craft Bond Glue Pen 1 fl oz (dual sided, used the “wide spreader tip”
  • paper cutter

OrganizationLove Pro Tips:

  • I attempted to line up the long present stamp with the bottom of the card; this did not work well because the stamp itself was crooked, but not too bad at least
  • I cut a triangle of red printer paper to attach to the corner, and used a paper cutter to make a skinny line of red printer paper and glued to the bottom of the card
  • I mixed fonts for the words “happy” and “birthday” and I liked the way it looked
  • I attempted to color some presents/bows red in a previous attempt at the card, but I didn’t like it as much as I thought I would, so I kept the black and white

Caption Ideas:

  • Because there are already words on the front of the card, outer captions are not necessary
  • Inside notes:
    • Present time
    • Enjoy your day
    • Have a great day
    • Wishing the best for you

Inspired? 

  • If my post inspires you, and you blog about it, I ask that you credit me! Also, I’d love to see it!

Want it?

  • This card is available for purchase on my etsy store:
https://www.etsy.com/your/shops/savannahPcards/tools/listings/264845506

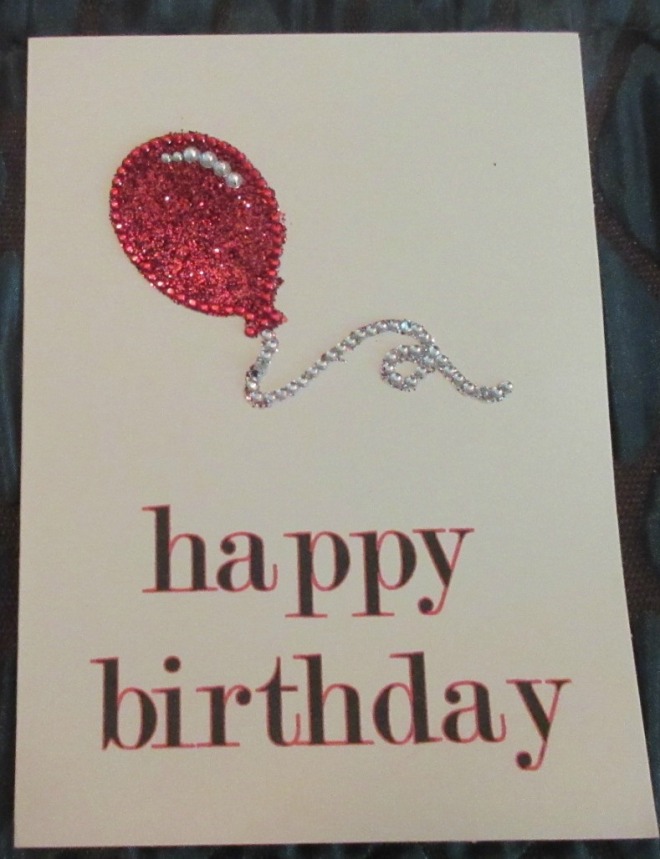
DIY Happy Birthday Sparkly Balloon card

red balloon happy birthday 1

Materials:

  • The Paper Studio value pack ivory notecard/envelope 4″x5.5″ [Michaels]
  • MS Word: Word Art (to print “happy birthday”)
  • Gemstones by Paper Studio Red Balloon Gem/Glitter sticker (Hobby Lobby)

OrganizationLove Pro Tips:

  • I designed the words “happy birthday” in Microsoft Word and printed directly on the card – I made the outline red to match the balloon
  • I got the balloon sticker on clearance from Hobby Lobby, so I don’t know if it’s still for sale. It was tough to arrange the balloon “string” to lie flat, but it was doable!

As you can see, there’s not a lot to this card!

Caption Ideas:

  • Because there are already words on the front of the card, outer captions are not necessary
  • Inside notes:
    • Have a great day
    • Hope your day is as amazing as you
    • Party time
    • Celebrate

Inspired?

  • If my post inspires you, and you blog about it, I ask that you credit me! Also, I’d love to see it!